- Log in to your Windows VPS using RDP (Remote Desktop Access). This tutorial will guide you to connect to Windows VPS server using the RDP from different operating systems.
- Once you are logged on your Windows VPS server, click Start → Administrative Tools → Server Manager.
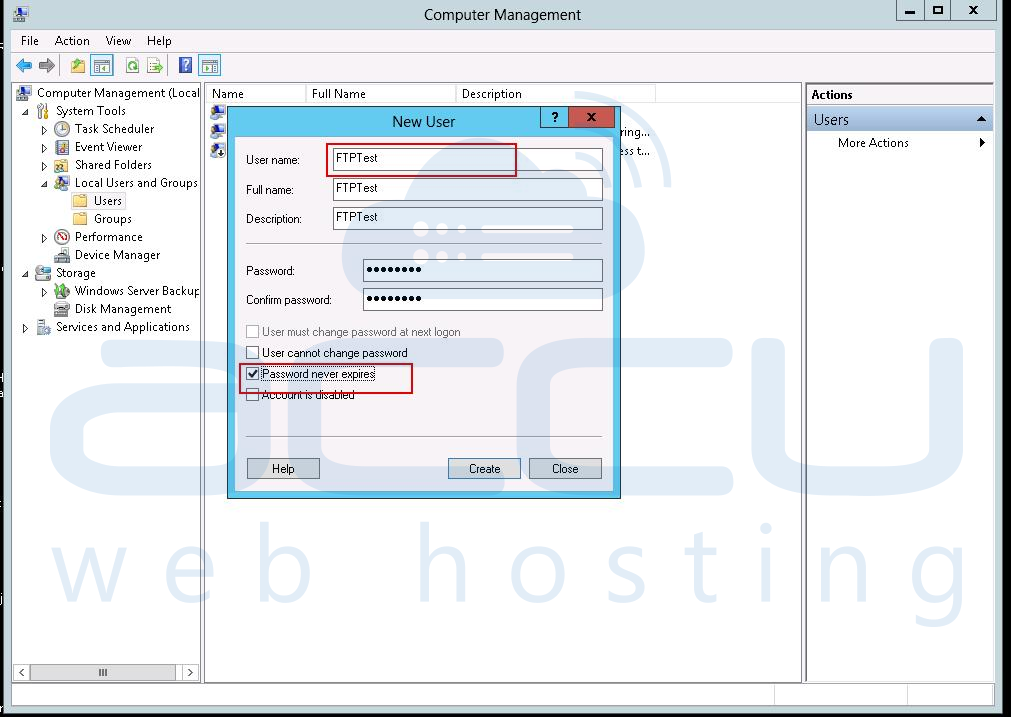
- At Server Manager, Go to Configuration → Local Users and Groups → Users.
- Create a new Windows user account that you want to use as FTP username. In this article, we've created FTPTest user.

5 .Now you need to give FTP permissions to this newly created FTP user (FTPTest). For that, Launch IIS manager and select Default FTP Site.
- Right click on Default FTP Site, and select Add Virtual Directory option.

- in the Alias field, specify the FTP username (FTPTest), select Physical path of the virtual directory, and press OK button.
- Select the newly added FTP website from the connection pane. Under FTP section, locate and double-click an option called FTP Authorization Rules.
- Right click on All Users and select Edit option.
- Check the Read and Write check boxes and click OK to save the settings.
- Now open Computer (Windows explorer) and go to the folder path where your web content is stored. Right click on the root folder of your web-content and select Properties option.
- As shown below, click on Security tab of the folder’s properties and click on Edit button which will open up a screen of Permissions for your folder. In order to add permission for FTPTest user, click on the Add button.

- Select Advanced button and click on Find button. This will Popup a window with list of all the users. From this list select your FTP user (FTPTest).

- Now, assign Read, Read & Execute, and List Folder Contents permission to this FTPTest user as per the following screen capture.

- Click on Apply and then OK button to close all the wizards of folder properties.
Looking to enable GD Library for PHP on Windows? Please refer to Enable GD Library for more details.
Looking to connect RDP on another port? Please refer to connect RDP on another port for more details.
Looking to install and configure SMTP on Windows Server? Please refer to configure SMTP server for more details.
Looking to install and configure Shoutcast on a windows server? Please refer to install Shoutcast for more details.


 English